Adobe Photoshop is the de facto standard for editing images. It has many great features, including the ability to optimize images. For example, you can use the Crop tool to select only the portion of an image you wish to display on your web page. You can also use the Export feature to resize and optimize images. However, many small business owners don’t have Photoshop. It’s costly and has a steep learning curve. As a result, business owners who upload images to their websites often do so without optimizing them, resulting in bloated web pages that take forever to download. Unfortunately, that isn’t good for user experience and search engine optimization (SEO).
So how can you fix that without spending time and money on Photoshop? Easy! Download the correct dimensions, crop in Canva, and optimize with TinyPNG.
Download the Correct Dimensions
Many stock photography websites provide a variety of image dimensions to download. If you know the dimensions you need for your website, try downloading the image that matches those dimensions. Smaller dimensions for JPG and PNG often mean smaller file sizes.
Crop in Canva
If you don’t need the whole image, you can crop it with a tool like Canva. Cropping is a feature enabled with a free Canva account, so you don’t even need to pay for an account. You can follow the steps below or watch my video on this topic to see how to do this.
1. Go to Canva and log in with your account.
If you don’t already have an account, create one. You can use a free account to follow this workflow.
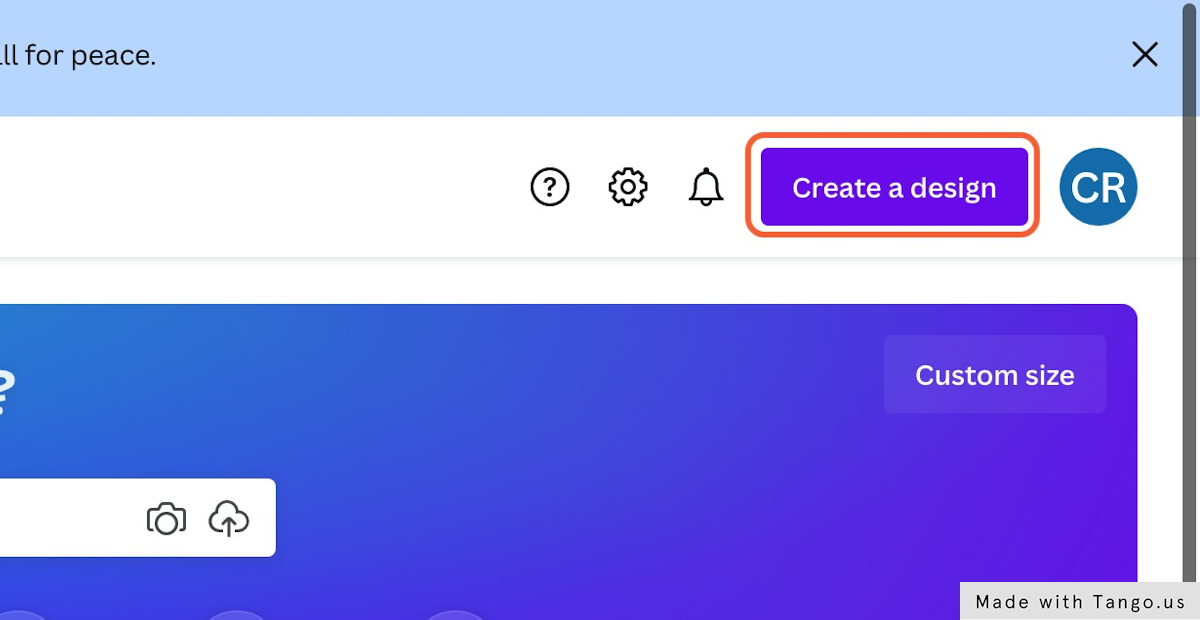
2. On the Canva homepage, click on Create a design.
3. Select Custom size.
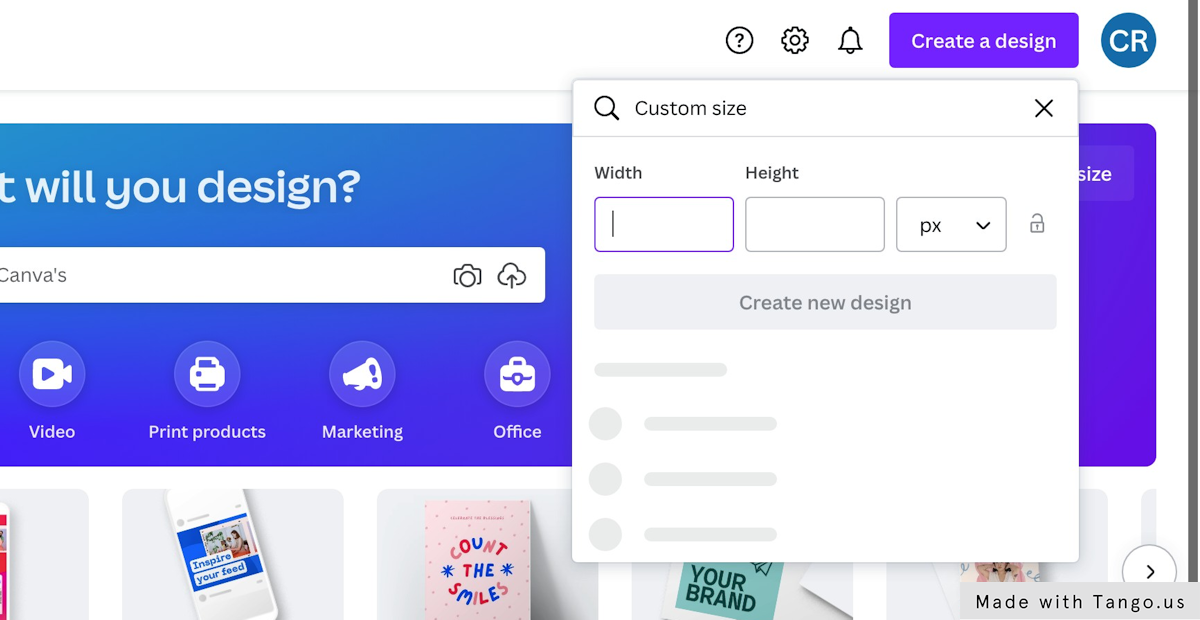
4. Enter the dimensions you want for your image.
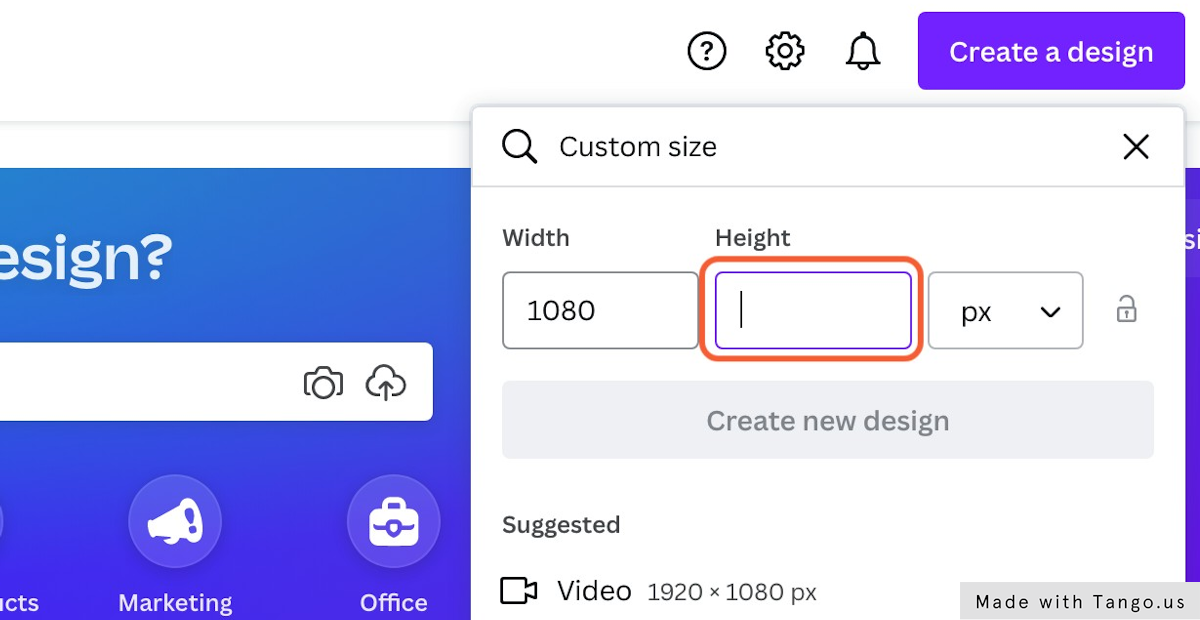
5. Click on Create new design.

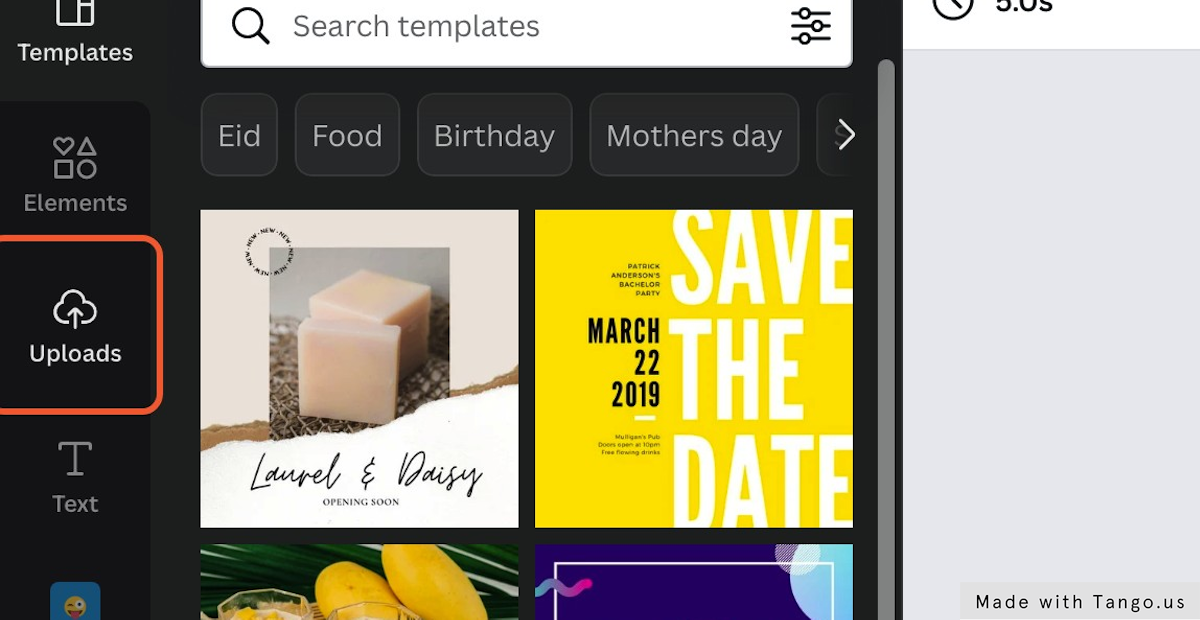
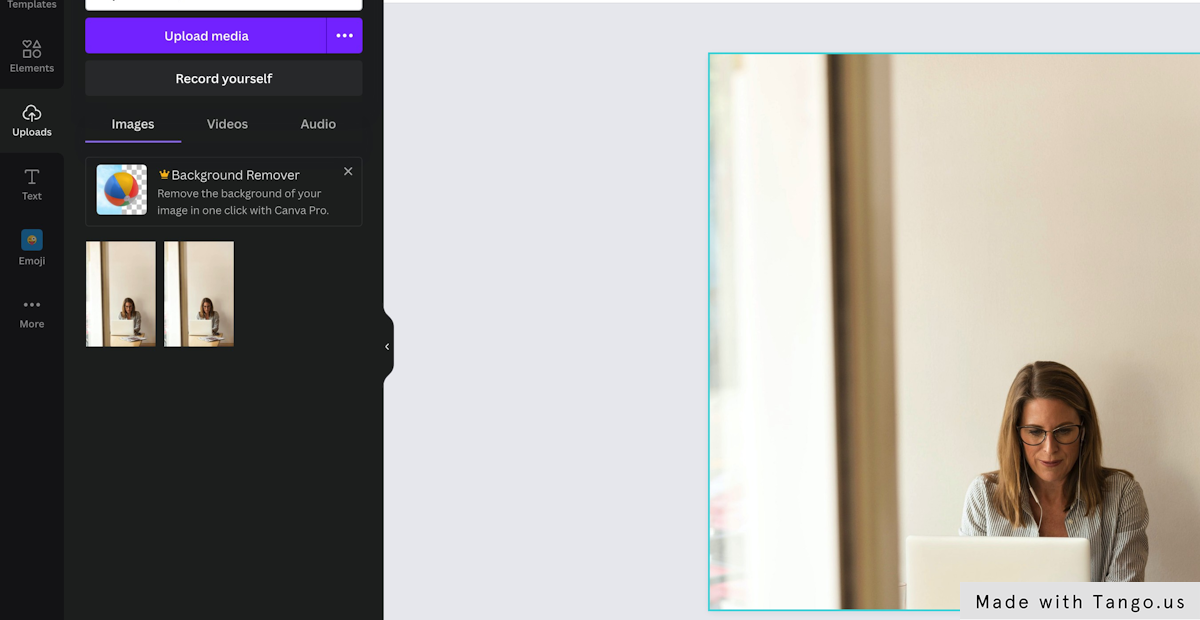
6. In the new design, click on Uploads and then upload the image you want to crop.
7. Drag the uploaded image to the canvas. It should fill up the entire canvas; if not, drag it around until it snaps into place.
8. Double-click on the image.
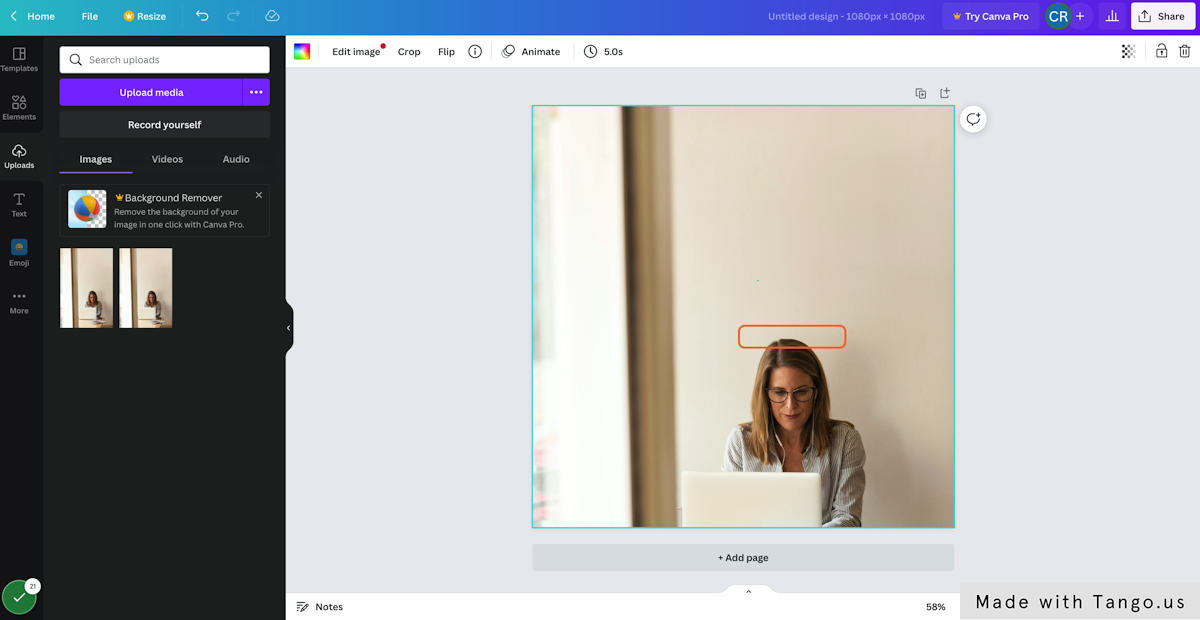
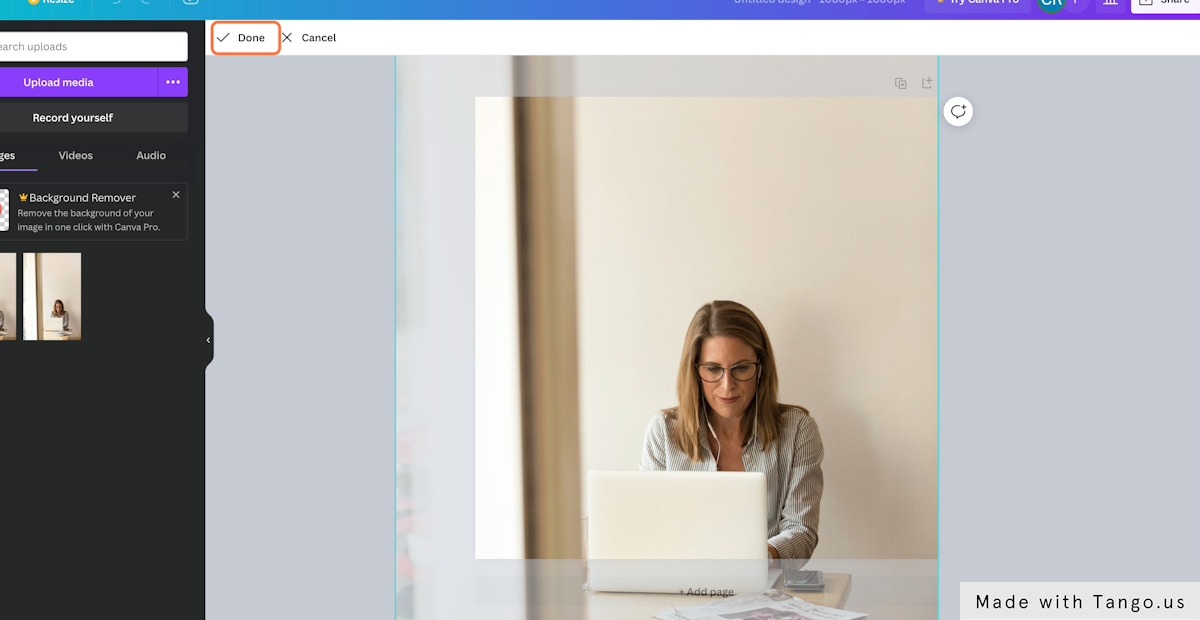
9. Drag the corners and resize the image as needed. You can also drag the image around to reposition it. Do this until the image looks the way you want, and then click on Done.
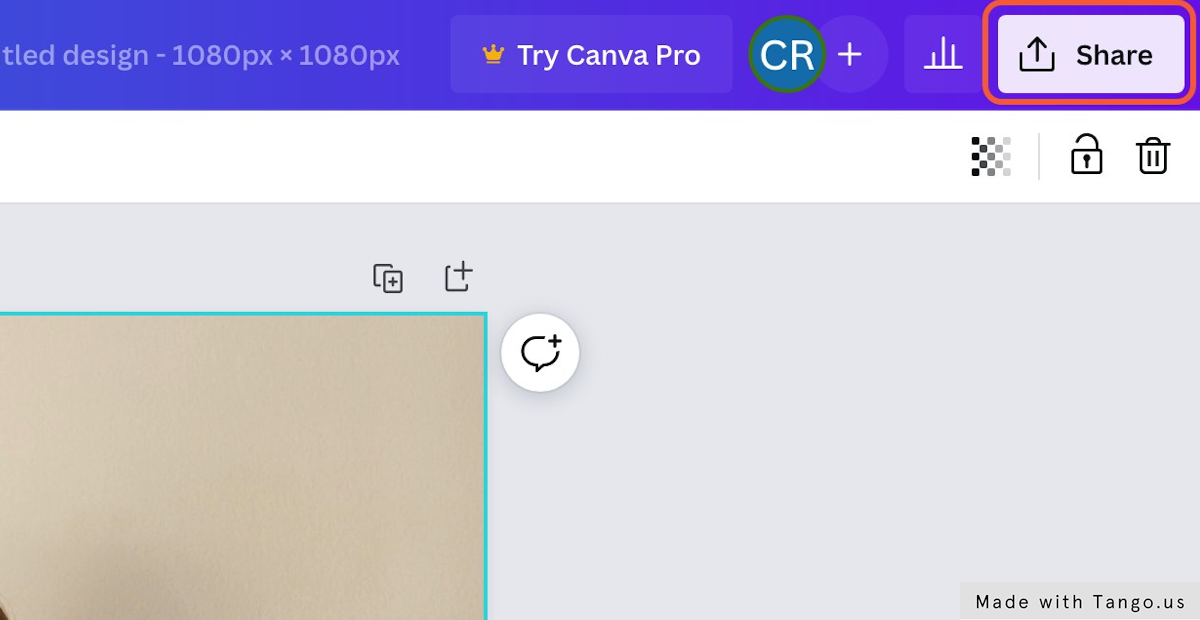
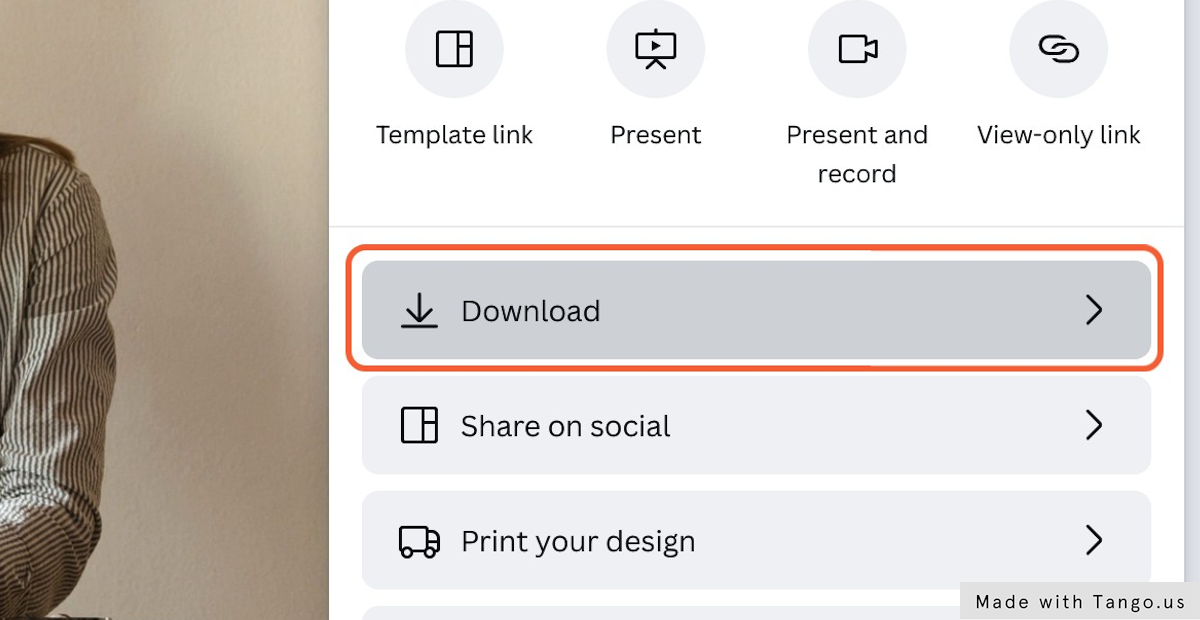
10. Click on Share.
11. Click on Download.
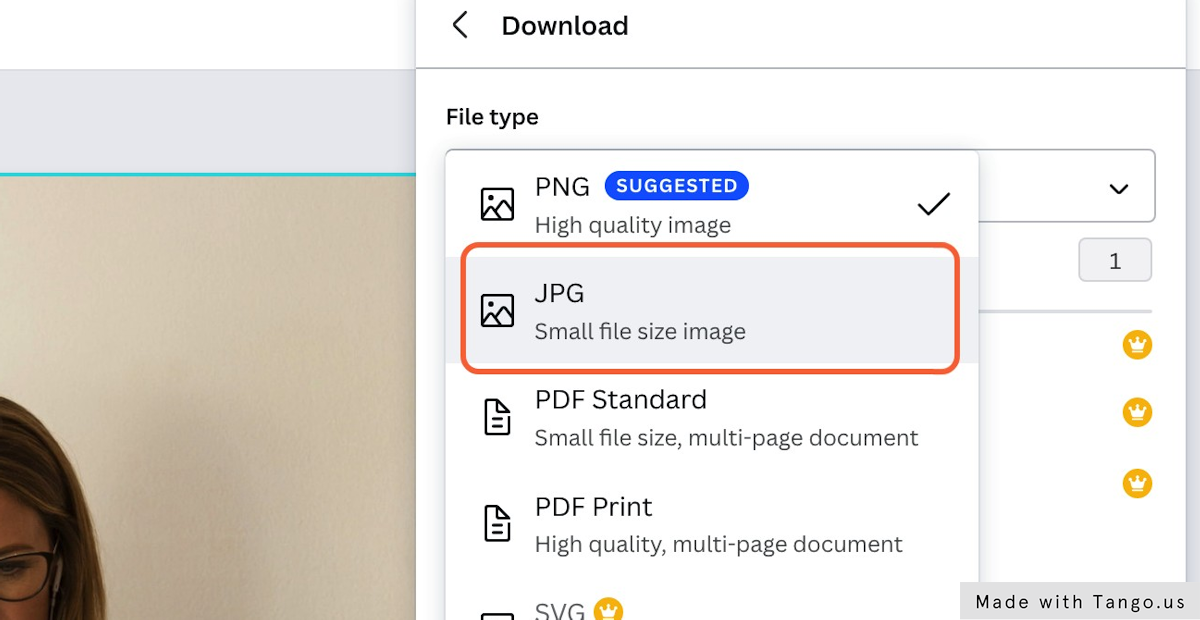
12. Change the file type to JPG if the image is a photograph. That will generally result in smaller file size.
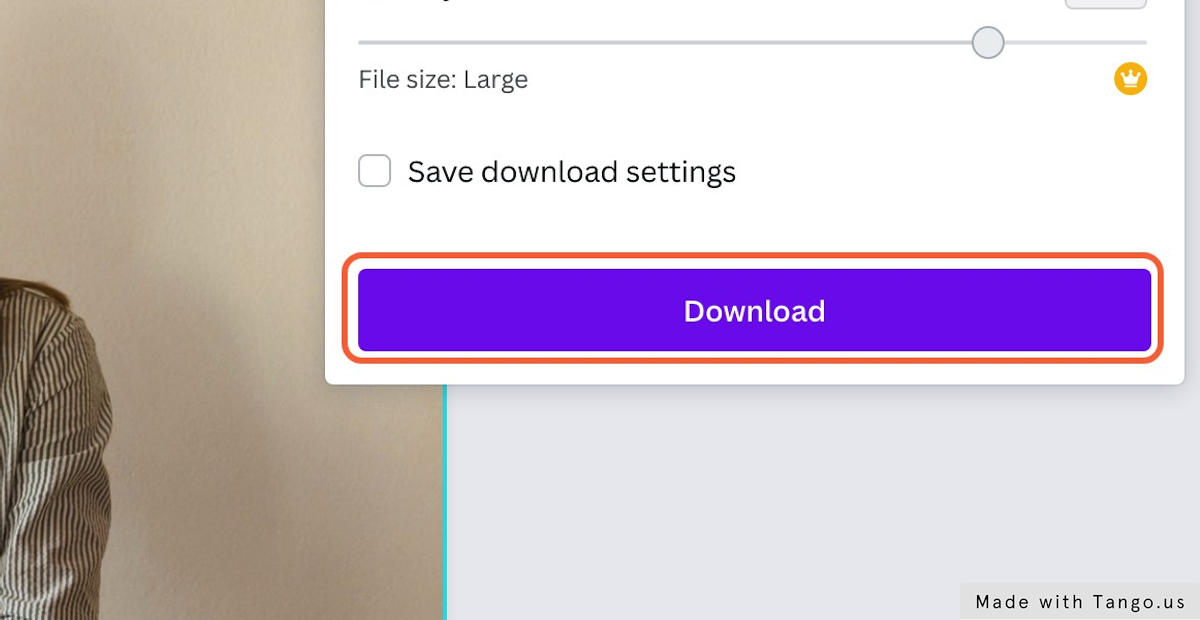
13. Click on Download.
This workflow was created with Tango
Optimize with TinyPNG
After you crop your image, you can optimize it further using TinyPNG. It’s a free tool that lets you upload up to 20 WebP, PNG, and JPG files with a maximum of 5MB each. If you have more than 20 images to optimize, you can do 20 at a time. Just drop the files in the box, and TinyPNG will automatically optimize them. Then you can download the files to Dropbox or your computer. I usually save at least 20% on the file size when I optimize with TinyPNG, and the image quality isn’t usually affected.

If you have a WordPress website, TinyPNG has a free WordPress plugin you can use to optimize images as you upload them.
Need Some Help?
I hope you found this post helpful. If you need some help with any topics I covered, join my Get Your Business Online Facebook group and post your question. If you would like to hire Pongos to do this stuff for you, contact us.